Correctly applying a blood pressure monitor cuff is essential to obtain accurate and reliable blood pressure readings. Here are the steps to properly apply a blood pressure cuff:
- Select the Right Size Cuff: Ensure you have the appropriate cuff size for the person whose blood pressure you're measuring. Using the wrong size can result in inaccurate readings. Most cuffs come in different sizes (small, medium, large), so choose the one that fits the person's arm circumference correctly.
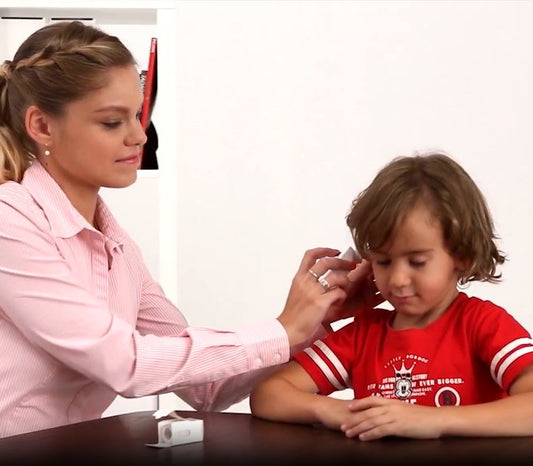
- Prepare the Person: Ask the person to sit in a comfortable chair with their back supported and feet flat on the floor. They should be relaxed and not talking during the measurement.
- Position the Person's Arm: Have the person extend their arm, palm up, so that the cuff will be applied to their bare upper arm. It's important that the arm is at heart level; you may need to use a small table or cushion to support it.
- Locate the Brachial Artery: The brachial artery is the main artery in the upper arm. Palpate (feel) for the brachial artery's location on the inside of the arm, just above the elbow crease. This is where you'll place the cuff.
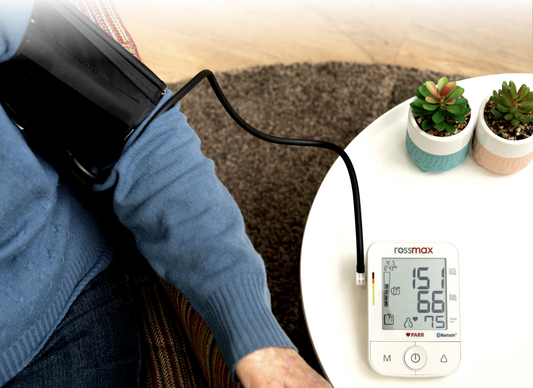
- Apply the Cuff: Slide the cuff onto the upper arm so that the lower edge of the cuff is about 1 inch (2.5 cm) above the elbow crease. The cuff should be snug but not too tight. You should be able to fit two fingers between the cuff and the arm.
- Align the Artery Marker: Most cuffs have an artery marker (an arrow or line) that should align with the brachial artery. Make sure it's properly positioned.
- Secure the Cuff: Use the Velcro or fasteners to secure the cuff snugly in place. Ensure it's not too loose or too tight.
- Position the Stethoscope: If you're using a manual sphygmomanometer (analog blood pressure monitor), place the stethoscope's head over the brachial artery directly above the cuff.
- Start the Measurement: If you're using an automatic digital blood pressure monitor, simply press the start button. If you're using a manual monitor, inflate the cuff by squeezing the bulb until the pressure exceeds the expected systolic (top number) blood pressure reading. Then, slowly release the pressure while listening for the heartbeat with the stethoscope.
- Record the Reading: Note the systolic (the first sound you hear) and diastolic (the point where the sound disappears) readings. These measurements represent the person's blood pressure.
- Deflate the Cuff: If using a manual monitor, open the valve on the bulb to release the pressure in the cuff gradually.
- Repeat if Necessary: For accuracy, it's often recommended to take multiple readings with a short rest period between them and then average the results.
- Remove the Cuff: Carefully remove the cuff from the person's arm.